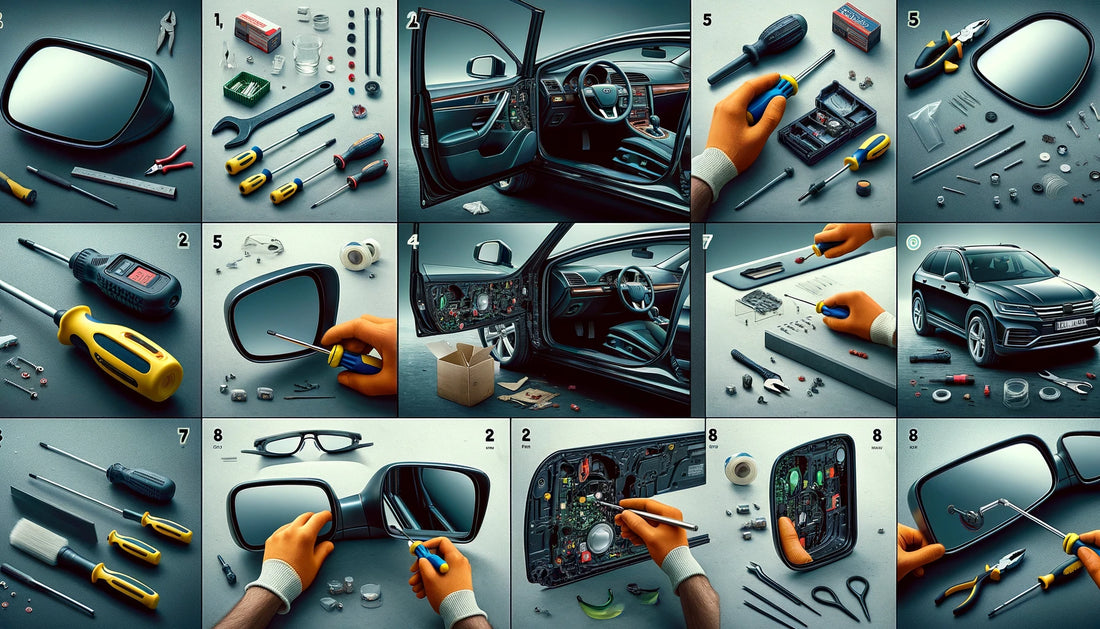
Guide: Replacing Your Car's Door Side View Mirror
Your vehicle's side view mirror serves as a critical safety feature, granting you a clear perspective of your surroundings. Nevertheless, unforeseen circumstances may lead to its damage, prompting the need for a replacement. Fear not, for with the right tools, attention to detail, and a systematic approach, you can effortlessly undertake this task. Here's a meticulous guide to aid you in changing your door side view mirror:
Step 1: Assemble Your Tools
Before commencing, gather the essential tools:
- Replacement mirror (ensuring compatibility with your vehicle)
- Screwdriver set (usually Phillips head)
- Pliers
- Protective gloves and eyewear
- Clean cloth
Step 2: Select the Correct Replacement Mirror
Ensure precise compatibility with your vehicle's make, model, and year. Whether from an automotive store, online retailer, or dealership, ascertain that the mirror matches your car's specifications. Additionally, note whether it requires painting for color cohesion.
Step 3: Prioritize Safety
Park your vehicle in a secure, well-lit location. Prioritize safety by donning protective gloves and eyewear before initiating the replacement process. These precautions safeguard against potential hazards like sharp edges or debris.
Step 4: Removal of the Old Mirror
- Interior Panel Extraction: Open the door and locate the interior panel adjacent to the mirror. Remove any screws or bolts affixing the panel. Use precision tools, like a flathead screwdriver or a specialized panel removal tool, to delicately detach the panel, ensuring no connected wires remain (in cases of powered mirrors).
- Disengage Electrical Connections (if applicable): If your mirror integrates electrical components, locate the wiring harness behind the panel and cautiously disconnect the electrical connector.
- Mirror Mount Screw Removal: Within the door frame, identify screws securing the mirror. Employ your screwdriver to meticulously extract them. Some mirrors might feature additional screws fastening the mirror to the door frame—remove these with care.
Step 5: Installation of the New Mirror
- Electrical Wiring Connection (if applicable): Should your new mirror encompass electrical components, attentively reconnect the wiring harness.
- Placement of the New Mirror: Align the replacement mirror precisely with the mount. Insert and tighten the screws securely, being mindful not to over-torque, which could potentially damage the mirror or door frame.
Step 6: Reassembly
- Interior Panel Reattachment: Reattach the interior panel conscientiously, aligning it meticulously with the door frame. Secure it firmly using the screws or bolts, ensuring all clips are in their designated positions before applying pressure.
Step 7: Testing the New Mirror
Once the replacement is secured, assess the functionality of the new mirror. Employ internal controls (in the case of electric mirrors) or manual adjustments to verify smooth movement and a clear view.
Step 8: Final Checks
Conduct a comprehensive inspection of the newly installed mirror. Eliminate any smudges or marks on the mirror's surface, and meticulously examine the alignment and stability.
While the process of changing a door side view mirror might initially seem daunting, following these meticulous steps, with an eye for detail and precision, can ensure a seamless replacement. If uncertainty or discomfort persists, seeking professional assistance remains a prudent choice, guaranteeing the task's accurate completion.
Restoring your vehicle's visibility and operational efficiency through this endeavor ensures safer journeys and enhanced confidence on the roads ahead.